User Allocation
The User Allocation Module is a powerful tool within our product that allows users to efficiently allocate users for specific tasks. This comprehensive documentation provides step-by-step instructions on how to utilize the Allocation Module effectively to optimize user allocation and task management.
Key Features of the User Allocation Module
The Allocation Module encompasses the following key features:
User Task Allocation: Users can easily allocate specific tasks to individual users based on their skills and expertise.
Priority Management: If a user is involved in multiple tasks, users can prioritize tasks assigned to that user and re-allocate less critical tasks to other users.
Accessing User Allocation
To access the User Allocation page, follow these steps:
-
In the main menu, under Document Monitoring, click User Allocation. The Allocation page opens.
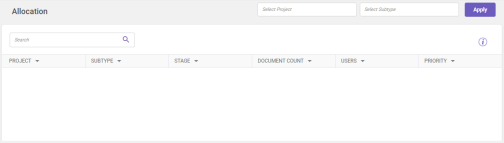
Column header descriptions
COLUMN NAME
DESCRIPTION
Project
Displays the project name. More
 The
 icon indicates that the particular project is an integrated project.
Subtype
Displays the subtype name.
Stage
Displays the stage name.
Document count
Displays the document count.
Users
Displays the user name.
Priority
Displays the priority count.
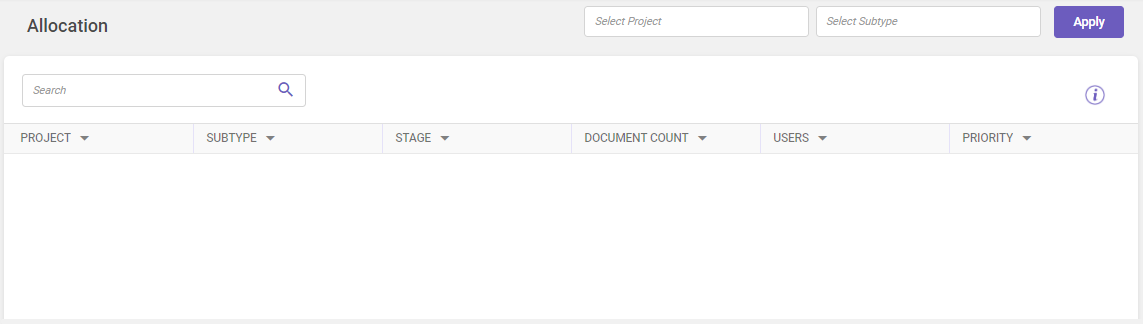
You can also view the column descriptions by clicking the Column Description  icon.
-
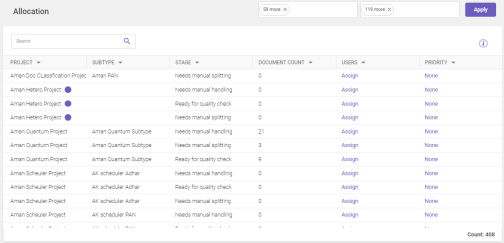
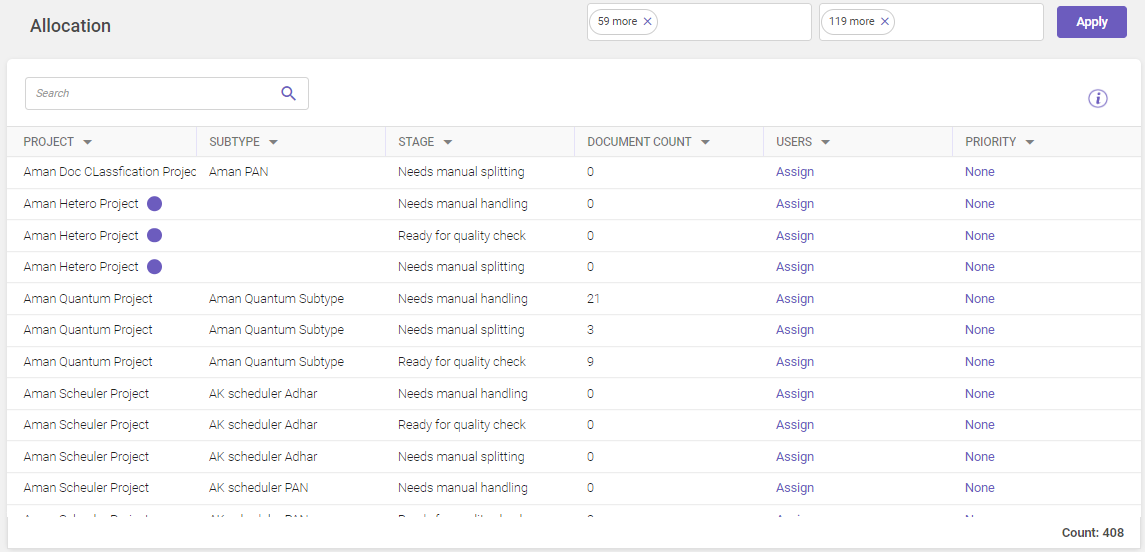
Select the required project and subtype (or multiple projects and subtypes) from the drop-down to view the records for a pre-defined duration or use the
 icon to specify the required duration and then click Apply.
Note:
It is mandatory to select Project to display the records.
All records matching the given criteria are displayed in the grid. Utilize the Search field to filter and find specific records within the displayed grid (Refer searching data).
Allocating users to subtype
To allocate users to a subtype, follow these steps:
-
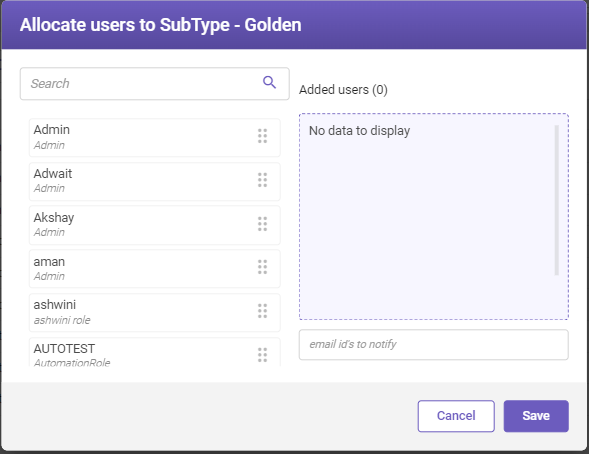
On the Allocation page, in Users column click Assign to allocate users for a subtype. The Allocate users to sub-type window opens.
-
To add users, drag the required user from the left pane using
 and drop it on the right pane, and then click Save.
-
Select the required user email id from the email id's to notify drop-down list to receive notifications about documents being available for processing at the split merge, MI, and QC stages.
Note:
To activate the email notification feature, the value of Document threshold to notify users setting needs to be changed from its default value (0) to the required value in the Manual intervention, Quality control, and Split merge application settings as per requirement.
Assigning priority count
To assign priority count, follow these steps:
-
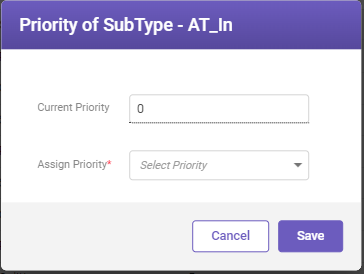
On the Allocation page, in Priority column click Priority to assign priority count for a subtype. The Priority of SubType window opens.
-
Select the priority from the Assign Priority drop-down list and then click Save.